(ry
今更なんですけど「(ry」って死語ですよね。語尾に(爆)とかつけちゃうくらい痛いなってこのシリーズ続けててずっと思ってた。まあどうでもいいか。というよりもタイトル省略しすぎて何がなんやらですね。
前回記事
inujini.hatenablog.com
じゃあさっさとこの続きもの終わらせましょうか……。
コルーチン
説明しよう!コルーチンとはチンがついているからエッチな言葉ではなく以下のようなやつだ!
コルーチン(英: co-routine)とはプログラミングの構造の一種。サブルーチンがエントリーからリターンまでを一つの処理単位とするのに対し、コルーチンはいったん処理を中断した後、続きから処理を再開できる。接頭辞 co は協調を意味するが、複数のコルーチンが中断・継続により協調動作を行うことによる。サブルーチンと異なり、状態管理を意識せずに行えるため、協調的処理、イテレータ、無限リスト、パイプなど、継続状況を持つプログラムが容易に記述できる。
Wikiより
ということだ。また賢くなってしまったな。というわけでロード画面とかアニメーション演出とかそういうのに使えるであろうコルーチンを見ていきます。
using System.Collections;
using System.Collections.Generic;
using UnityEngine;
public class CoroutinesExample : MonoBehaviour {
    public float smoothing = 1f;
    public Transform target;
    void Start()
    {
        StartCoroutine(MyCoroutine(target));
    }

    IEnumerator MyCoroutine(Transform target)
    {
        while (Vector3.Distance(transform.position, target.position) > 0.05f)
        {
            transform.position = Vector3.Lerp(transform.position, target.position, smoothing * Time.deltaTime);
            yield return null;
        }
        print("Reached the target.");
        yield return new WaitForSeconds(3f);
        print("MyCoroutine is now finished.");
    }
}
using System.Collections;
using System.Collections.Generic;
using UnityEngine;
public class PropertiesAndCoroutines : MonoBehaviour {
    public float smoothing = 7f;
    public Vector3 Target
    {
        get { return target; }
        set
        {
            target = value;
            StopCoroutine("Movement");
            StartCoroutine("Movement", target);
        }
    }
    private Vector3 target;

    IEnumerator Movement(Vector3 target)
    {
        while (Vector3.Distance(transform.position, target) > 0.05f)
        {
            transform.position = Vector3.Lerp(transform.position, target, smoothing * Time.deltaTime);
            yield return null;
        }
    }
}
using System.Collections;
using System.Collections.Generic;
using UnityEngine;
public class ClickSetPosition : MonoBehaviour {
    public PropertiesAndCoroutines coroutineScript;
    void OnMouseDown()
    {
        Ray ray = Camera.main.ScreenPointToRay(Input.mousePosition);
        RaycastHit hit;

        Physics.Raycast(ray, out hit);

        if (hit.collider.gameObject == gameObject)
        {
            Vector3 newTarget = hit.point + new Vector3(0, 0.5f, 0);
            coroutineScript.Target = newTarget;
        }
    }
}
一時期サンプル使って2Dシューティング作ってたから使いどころがなんとなくわかる。やっぱ、こういう一例やるより実際になんか作る方がいいかもしれないなあ……。
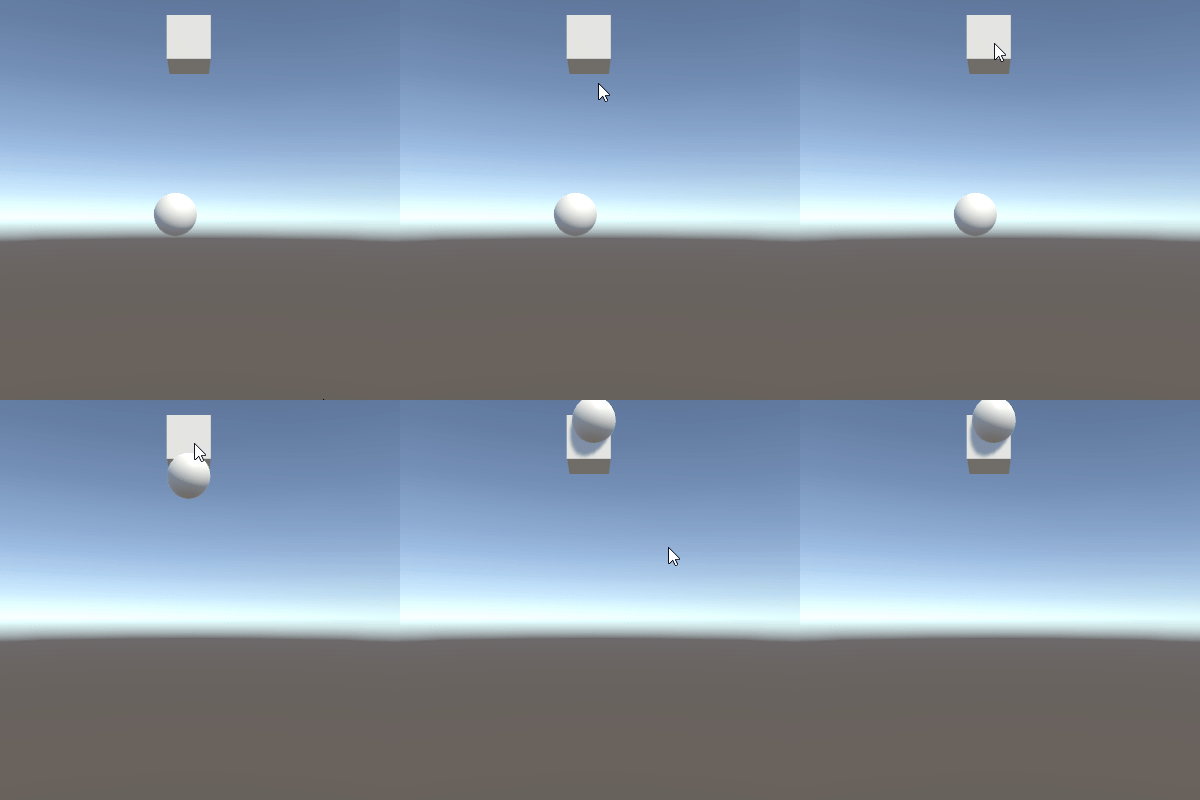
実際に動かした例がこんな感じ。
クォータニオン
四元数というらしい。3Dプログラミングでの回転処理ではこいつが使われるとのこと。幸いなことにUnityでは標準で使えるので難しい計算を覚える必要はない。
参考
UnityEngine.Quaternion - Unity スクリプトリファレンス
それぞれの挙動はこんな感じ。
using UnityEngine;
using System.Collections;
public class MotionScript : MonoBehaviour
{
    public float speed = 3f;
    void Update ()
    {
        transform.Translate(-Input.GetAxis("Horizontal") * speed * Time.deltaTime, 0, 0);
    }
}
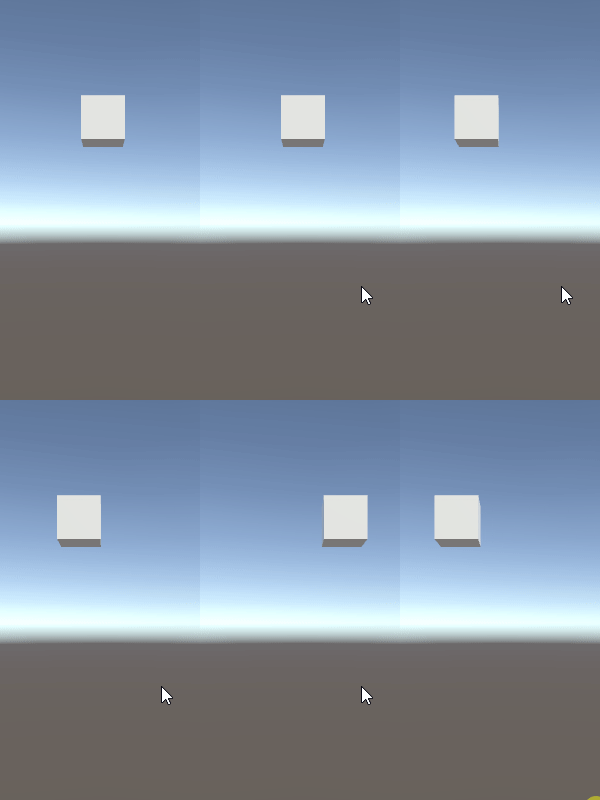
左右のキー入力を取得して左右移動を実現します。
using UnityEngine;
using System.Collections;
public class LookAtScript : MonoBehaviour
{
    public Transform target;
    void Update ()
    {
        Vector3 relativePos = target.position - transform.position;
        transform.rotation = Quaternion.LookRotation(relativePos);
    }
}
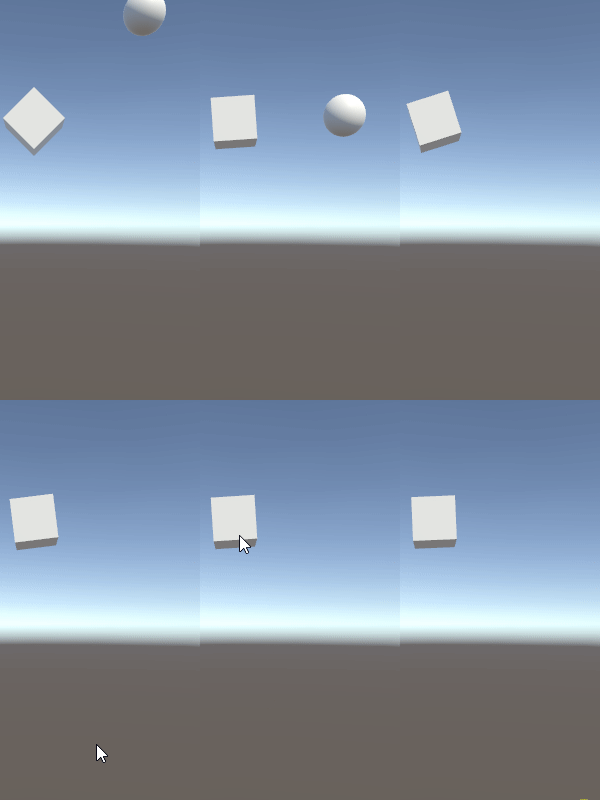
対象(ここではボール)の位置の方向へ向くようにオブジェクトを回転。
using UnityEngine;
using System.Collections;
public class GravityScript : MonoBehaviour
{
    public Transform target;
    void Update ()
    {
        Vector3 relativePos = (target.position + new Vector3(0, 1.5f, 0)) - transform.position;
        Quaternion rotation = Quaternion.LookRotation(relativePos);

        Quaternion current = transform.localRotation;

        transform.localRotation = Quaternion.Slerp(current, rotation, Time.deltaTime);
        transform.Translate(0, 0, 3 * Time.deltaTime);
    }
}
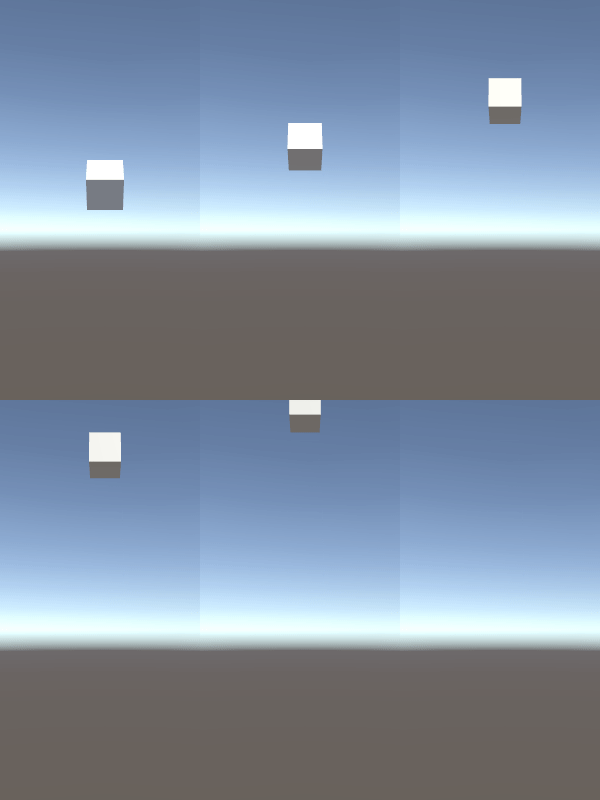
重力の実装。ふわーっ( ↑。
using UnityEngine;
using System.Collections;

public class SomeClass : MonoBehaviour
{
    void Start ()
    {
        transform.rotation = Quaternion.identity;
    }
}
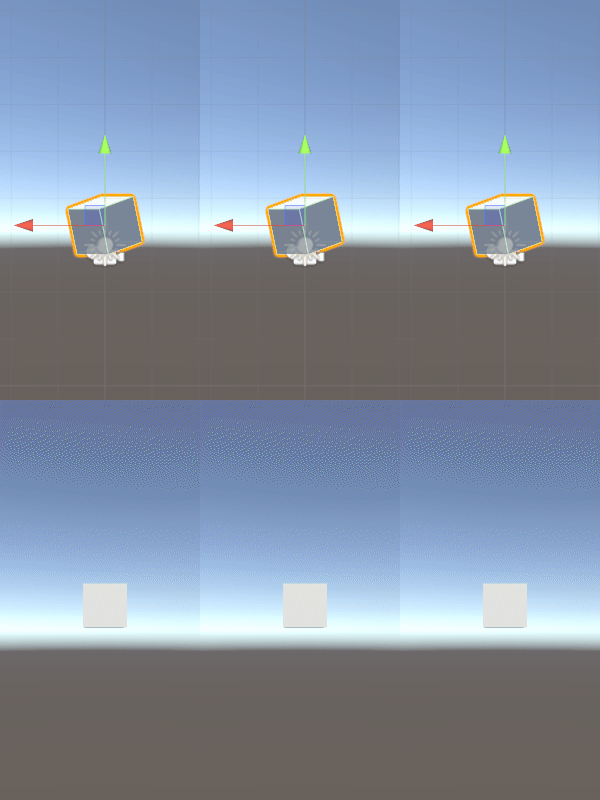
位置リセット
ざっくり使うにはこんな感じ。深くやるにはちゃんと勉強しないとダメそう…。
デリゲート
「委譲」について。なにを委譲するのかというと処理を委譲する。僕の雑な認識では関数ねじ込める構造体とかそういった認識。
①
using UnityEngine;
public class DelegateScript : MonoBehaviour {
    delegate void MyDelegate(int num);
    MyDelegate myDelegate;
    void Start()
    {
        myDelegate = PrintNum;
        myDelegate(50); // 50
        myDelegate = DoubleNum;
        myDelegate(50); // 100
    }

    void PrintNum(int num)
    {
        print("Print Num: " + num);
    }
    void DoubleNum(int num)
    {
        print("Double Num: " + num * 2);
    }
}
②
using System.Collections;
using System.Collections.Generic;
using UnityEngine;
public class MulticastScript : MonoBehaviour {
    delegate void MultiDelegate();
    MultiDelegate myMultiDelegate;
    void Start()
    {
        myMultiDelegate += PowerUp;
        myMultiDelegate += TurnRed;

        if (myMultiDelegate != null)
        {
            myMultiDelegate();
        }
    }

    void PowerUp()
    {
        print("Orb is powering up!");
    }

    void TurnRed()
    {
        GetComponent<Renderer>().material.color = Color.red;
    }
}
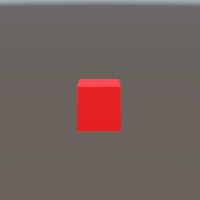
属性
[***]をつけることで色々できる。僕のイメージはUnityの画面をいじることのできるCSSみたいなイメージ。
using UnityEngine;
using System.Collections;
[ExecuteInEditMode]
public class ColorScript : MonoBehaviour
{
    void Start()
    {
        GetComponent<Renderer>().sharedMaterial.color = Color.red;
    }
}
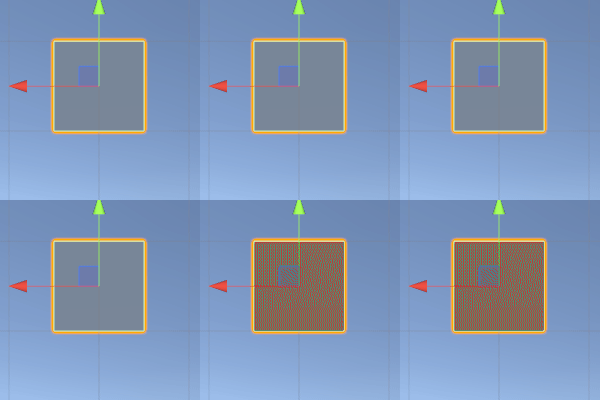
エディット画面で色変更。
参考
Unity - スクリプティング API: ExecuteInEditMode
using UnityEngine;
using System.Collections;

public class SpinScript : MonoBehaviour
{
    [Range(-100, 100)] public int speed = 0;

    void Update()
    {
        transform.Rotate(new Vector3(0, speed * Time.deltaTime, 0));
    }
}
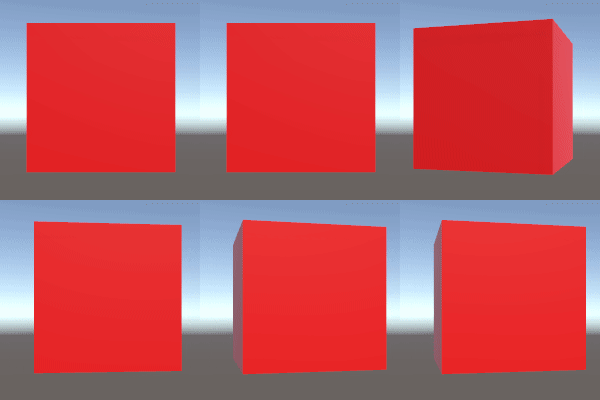
回転範囲に制限
イベント
ユーザー入力などをつかさどるイベントについてぶっちゃけ参考リンクの「スクリプトライフサイクルフローチャート」みるのが一発な気がする。
参考
イベント関数の実行順 - Unity マニュアル
思ってたよりいろいろあった……。
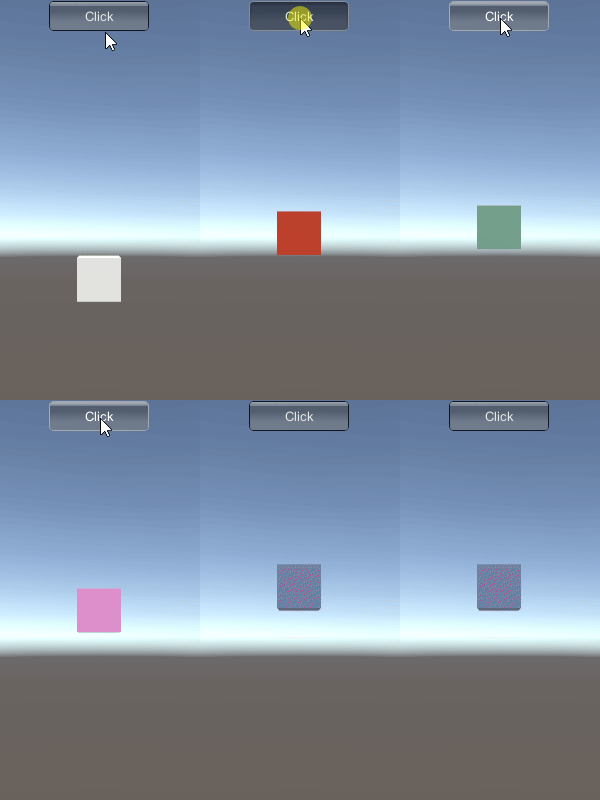
using System.Collections;
using System.Collections.Generic;
using UnityEngine;

public class EventManager : MonoBehaviour {
    public delegate void ClickAction();
    public static event ClickAction OnClicked;
    void OnGUI()
    {
        if (GUI.Button(new Rect(Screen.width / 2 - 50, 5, 100, 30), "Click"))
        {
            if (OnClicked != null)
                OnClicked();
        }
    }
}
using System.Collections;
using System.Collections.Generic;
using UnityEngine;

public class TurnColorScript : MonoBehaviour {
    void OnEnable()
    {
        EventManager.OnClicked += TurnColor;
    }


    void OnDisable()
    {
        EventManager.OnClicked -= TurnColor;
    }


    void TurnColor()
    {
        Color col = new Color(Random.value, Random.value, Random.value);
        GetComponent<Renderer>().material.color = col;
    }
}
using System.Collections;
using System.Collections.Generic;
using UnityEngine;

public class TeleportScript : MonoBehaviour {
    void OnEnable()
    {
        EventManager.OnClicked += Teleport;
    }

    void OnDisable()
    {
        EventManager.OnClicked -= Teleport;
    }


    void Teleport()
    {
        Vector3 pos = transform.position;
        pos.y = Random.Range(1.0f, 3.0f);
        transform.position = pos;
    }
}
完走した感想
というわけで長々と続けてしまいましたが以上で確認終わりです。こういうのは最後に完走した感想(激うまギャグ)を書きたいからつけているだけなのでみなさまに有益な情報がわたることありません。無念。さて、本題のやってみた感想ですが「この辺りの話はJavaを少しでもかじってればいけるんじゃない?」ってのが感想。じゃあ得るものがなかったのかと言われたら嘘で要所要所に貼っている公式リファレンス、それを再確認するいいきっかけになりました。まー、これやっても僕が美しい設計できるようになったとかないんですけどねーーーーーーーーwwww。かなしみ……。
おわり